Filling out the armature with a cardboard web, then adding a skin of chipboard strips to firm the shape.
Layers of cardboard were added to build depth and shape for the body, limbs, and head. I’m going for rough shape and scale.
I enlarged my sketch to make a cardboard armature. With the side profile as a guide, I can build depth and move from two to three dimensions.
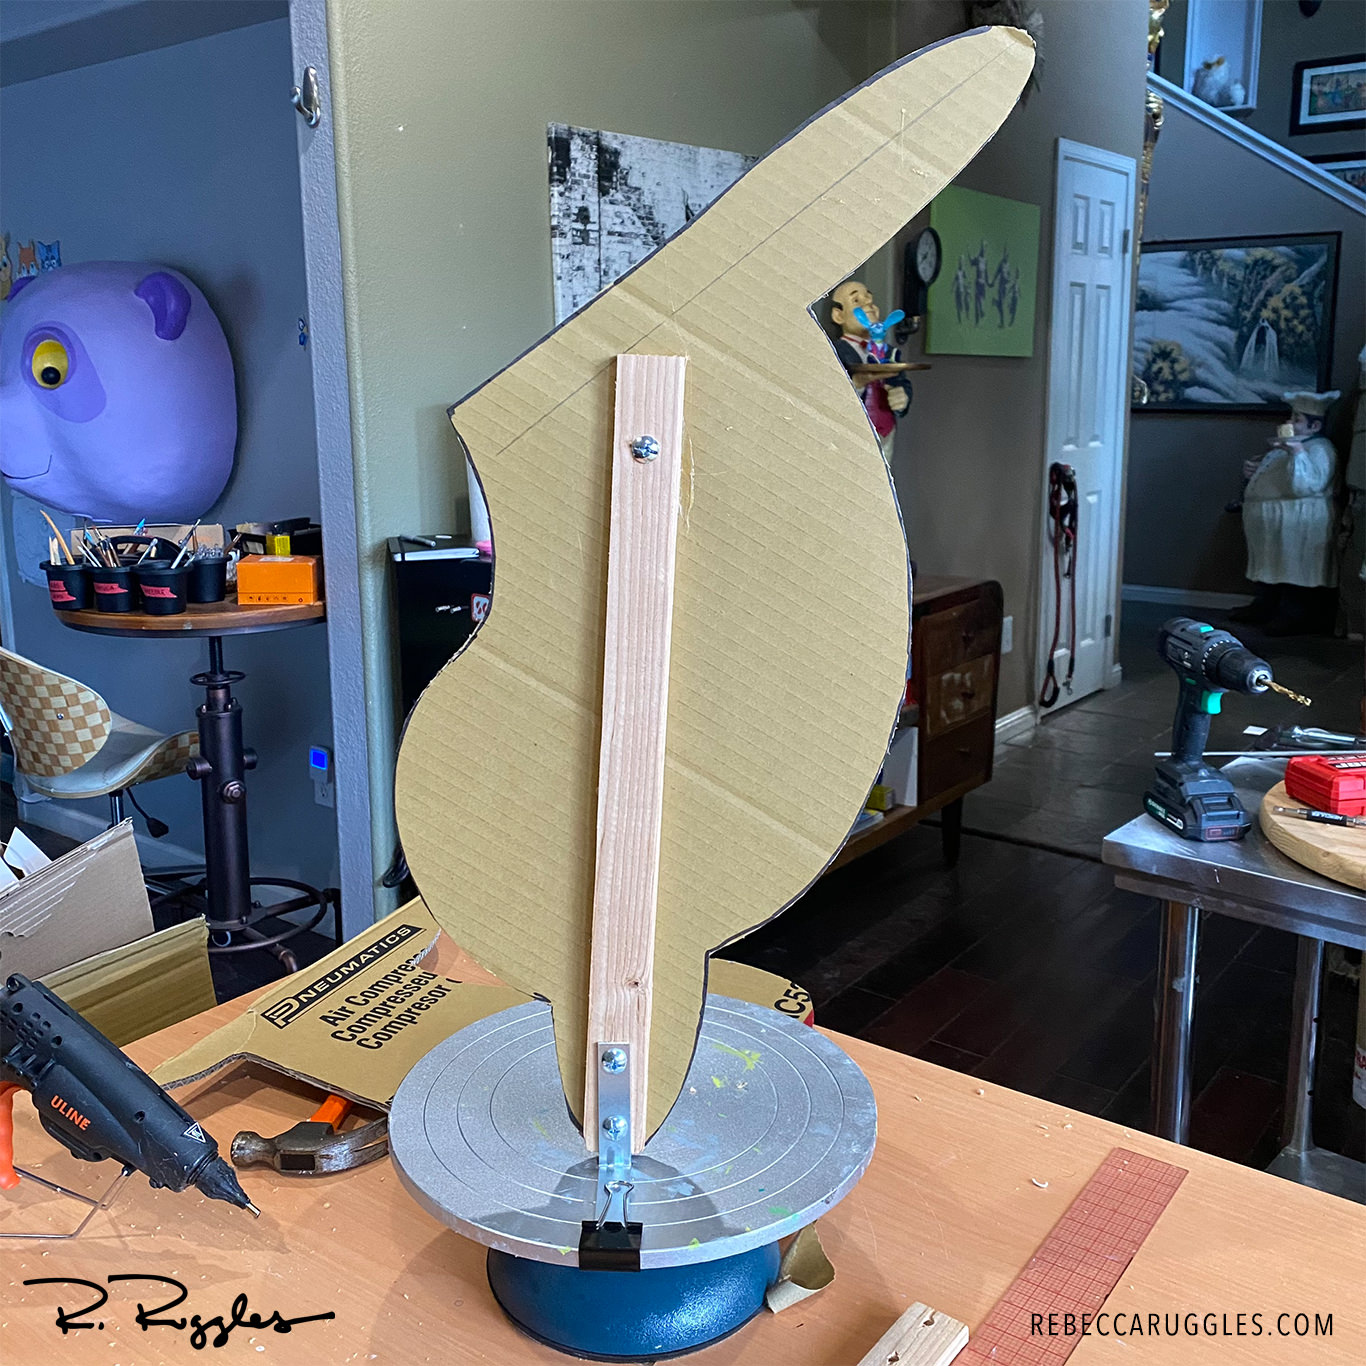
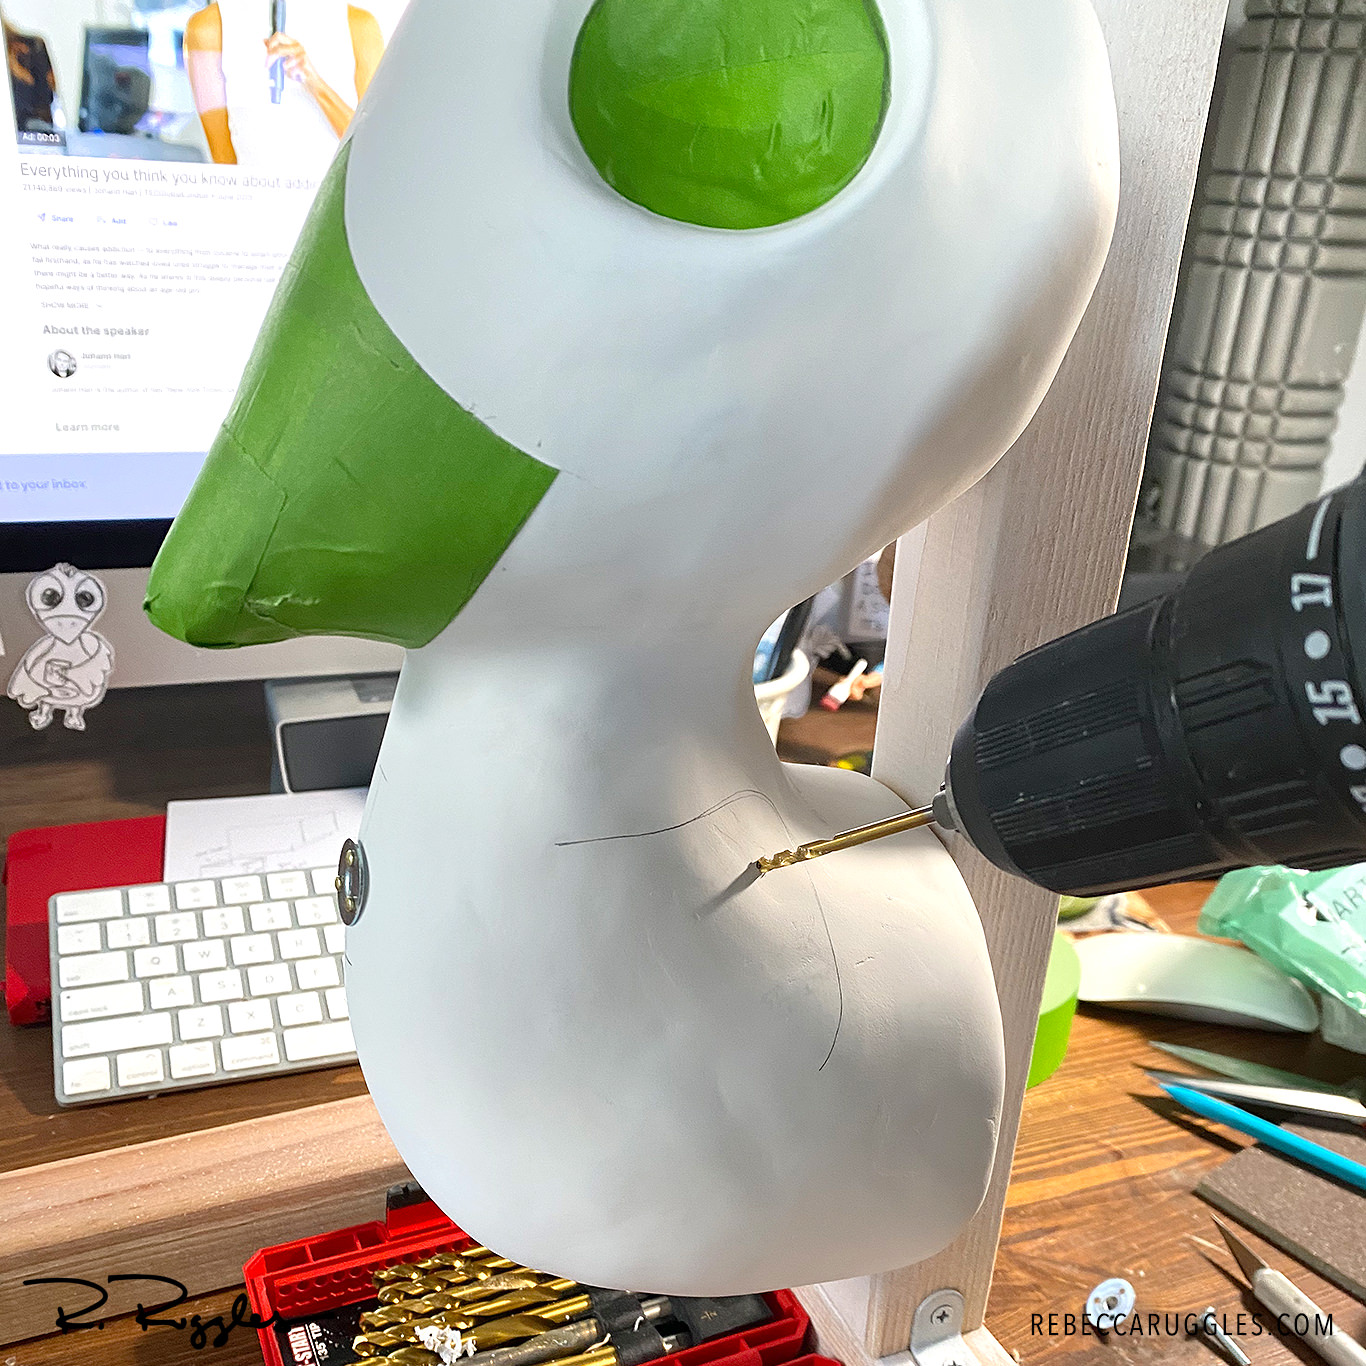
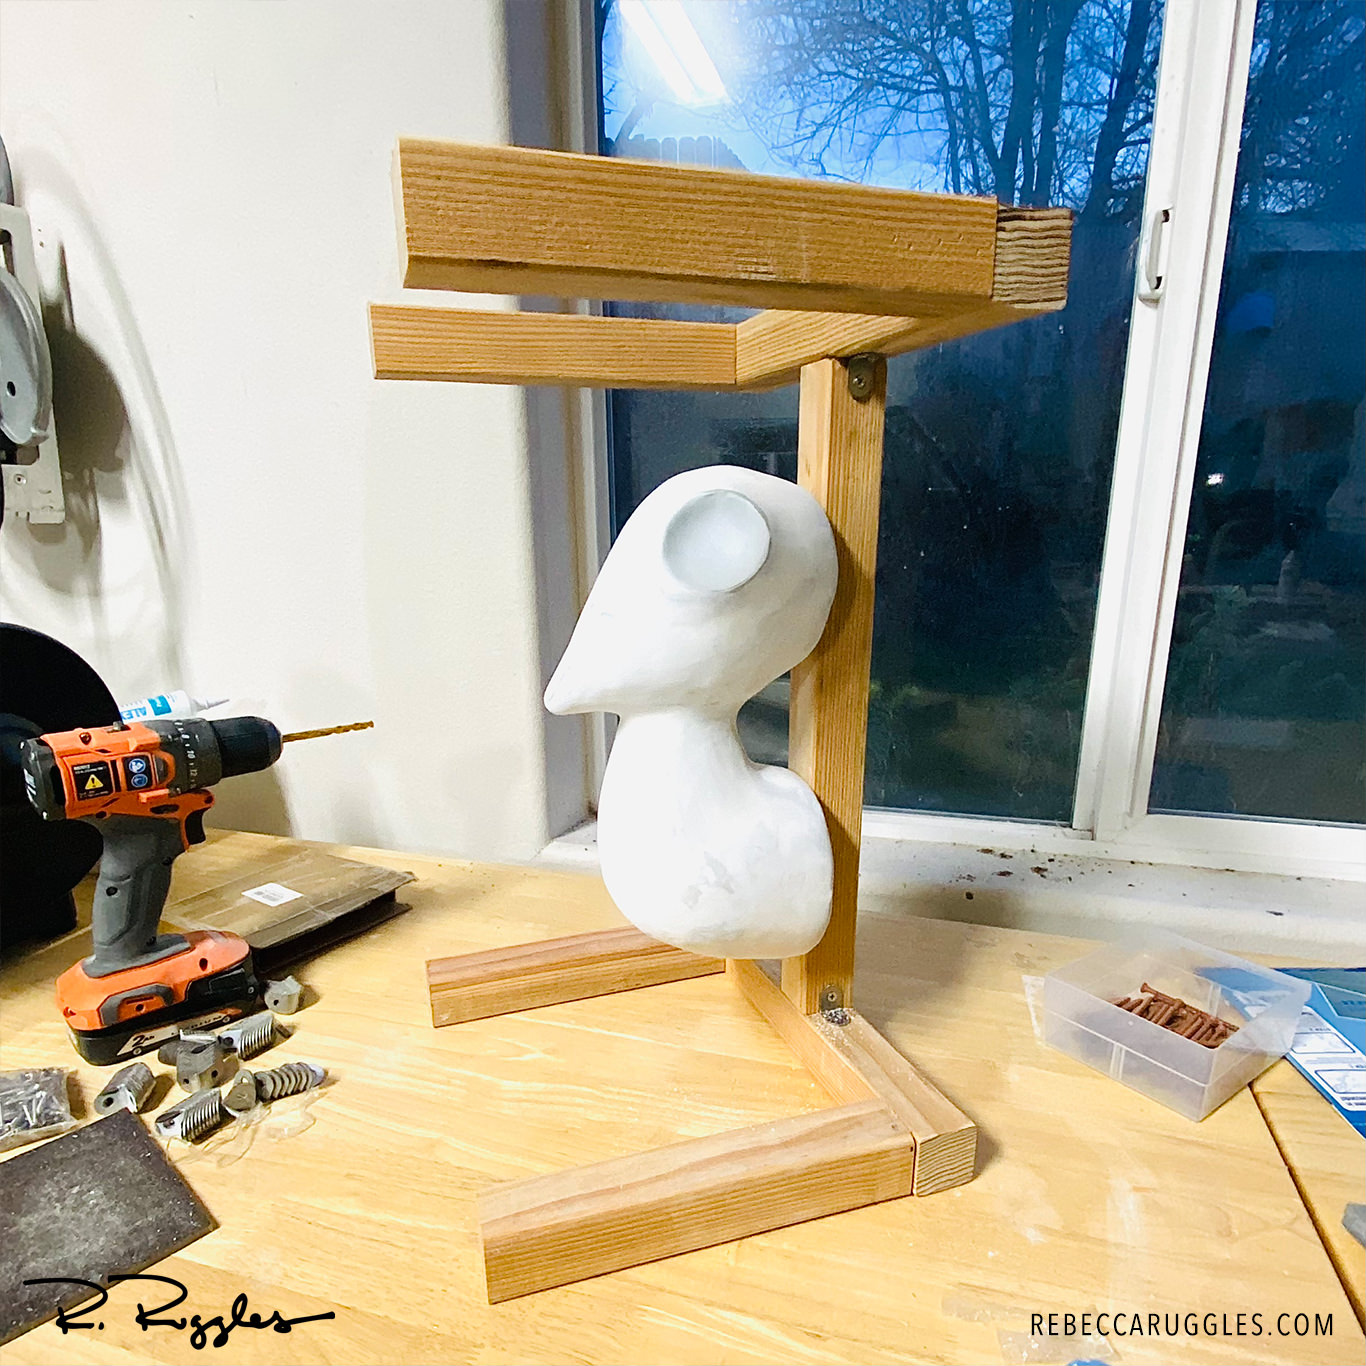
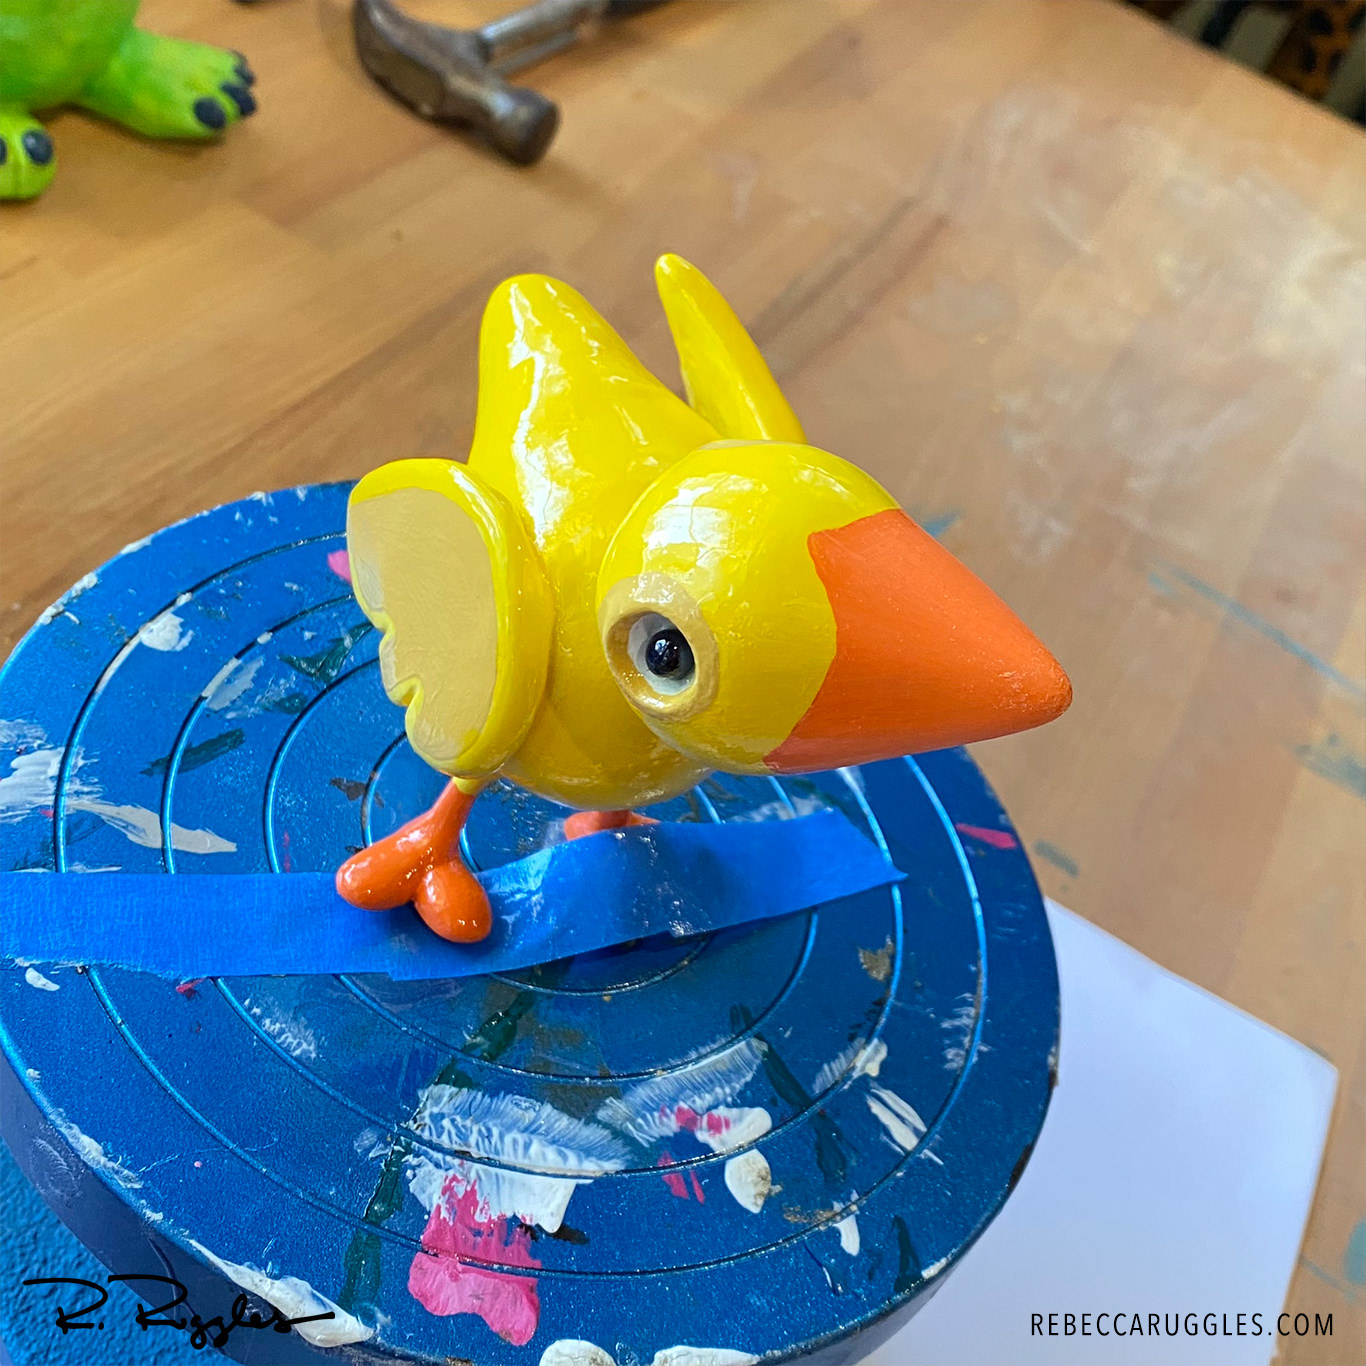
Using my jig has been so very handy. I can flip the piece so quickly and see areas that need attention and detail. Like today, working on the feet…
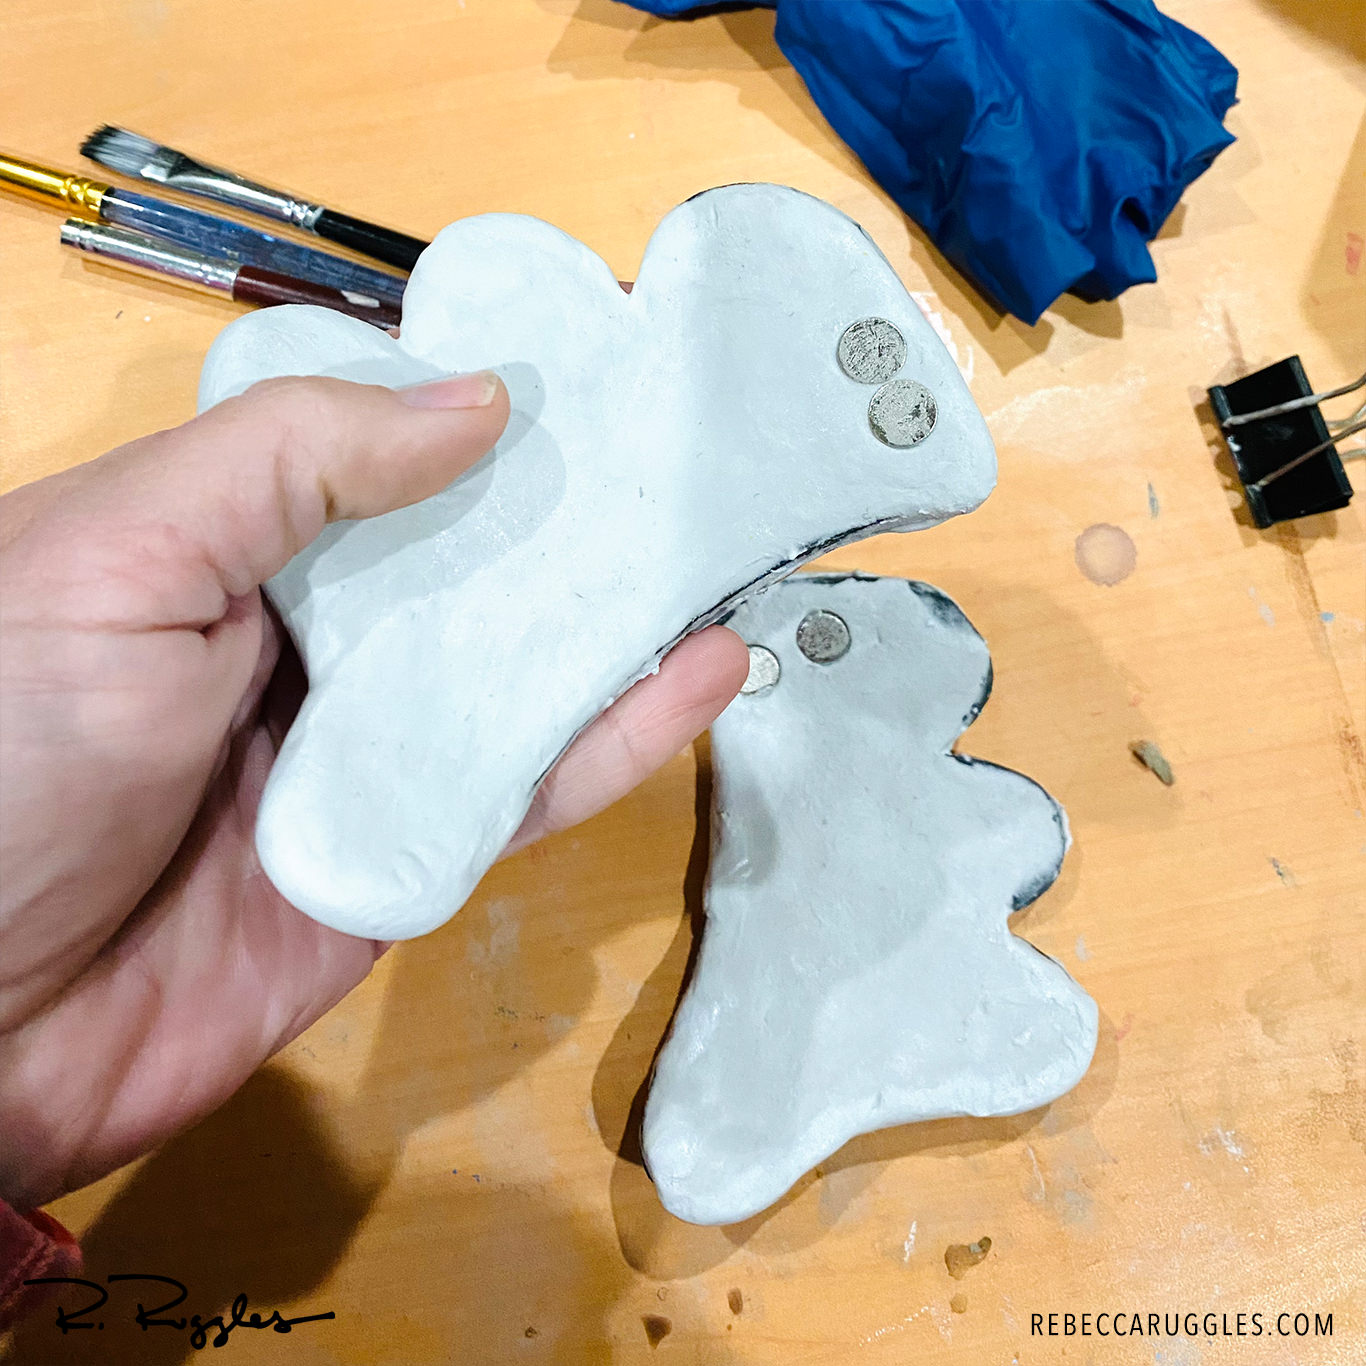
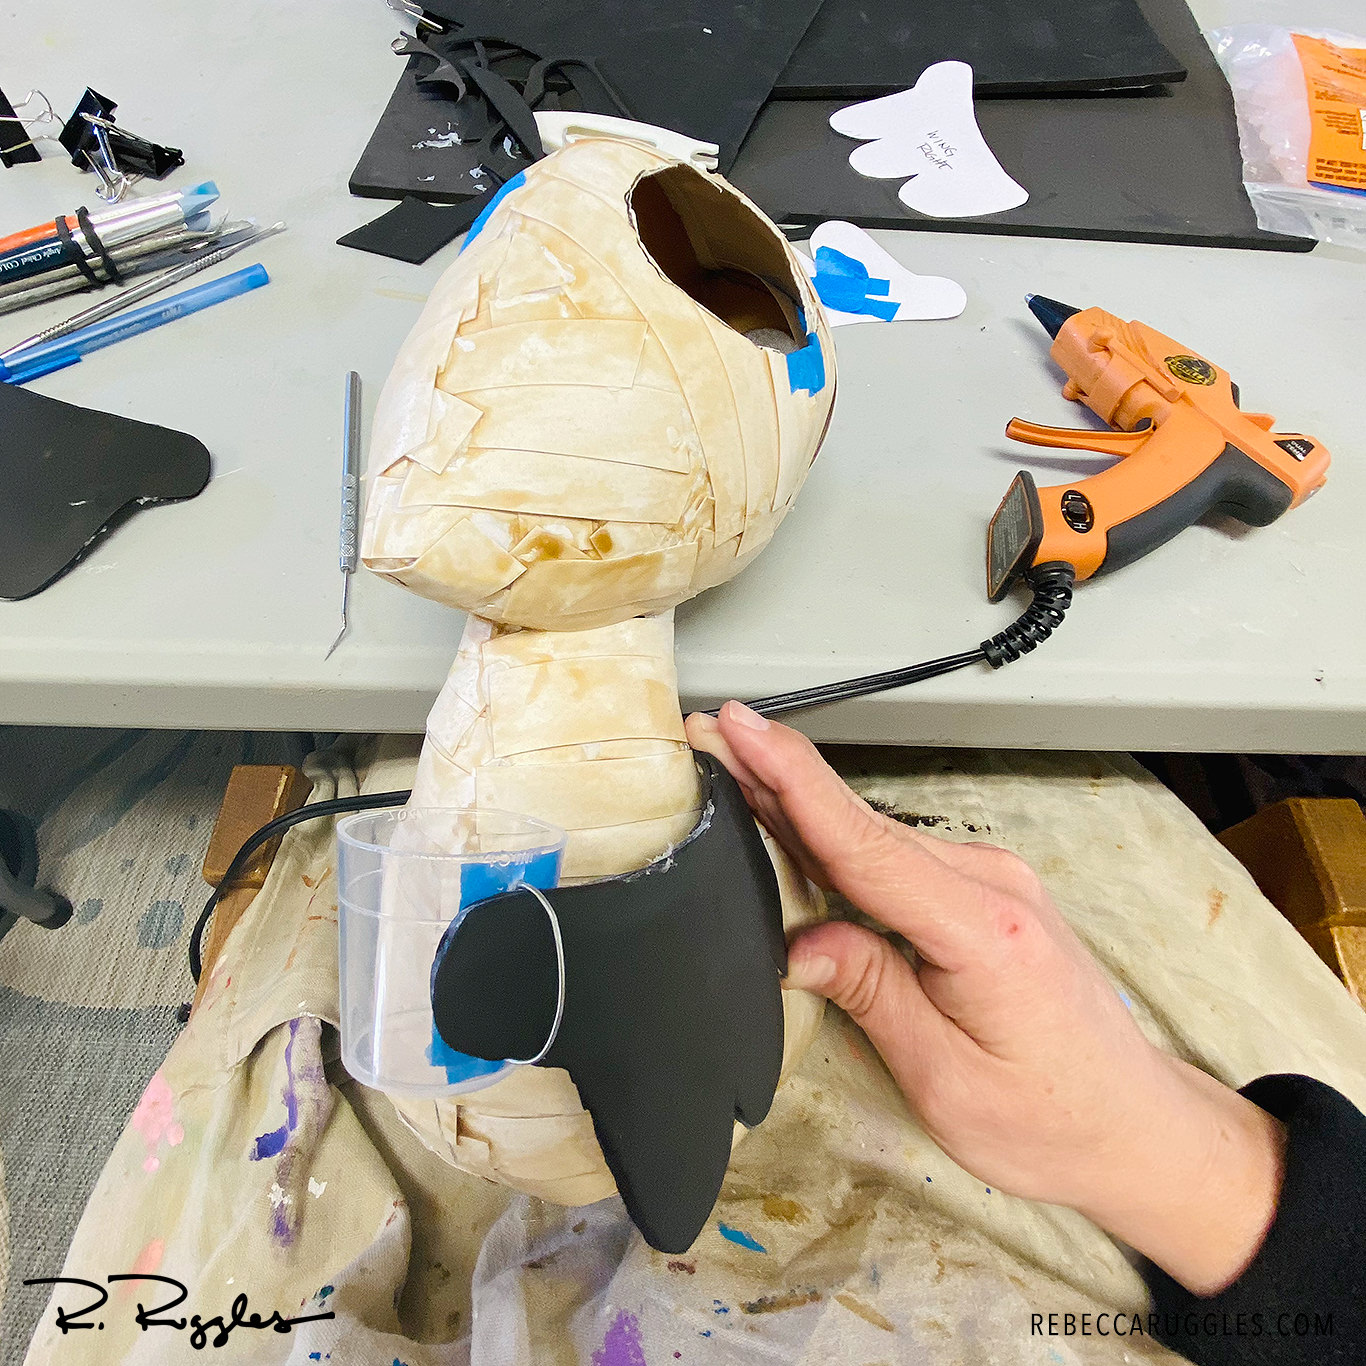
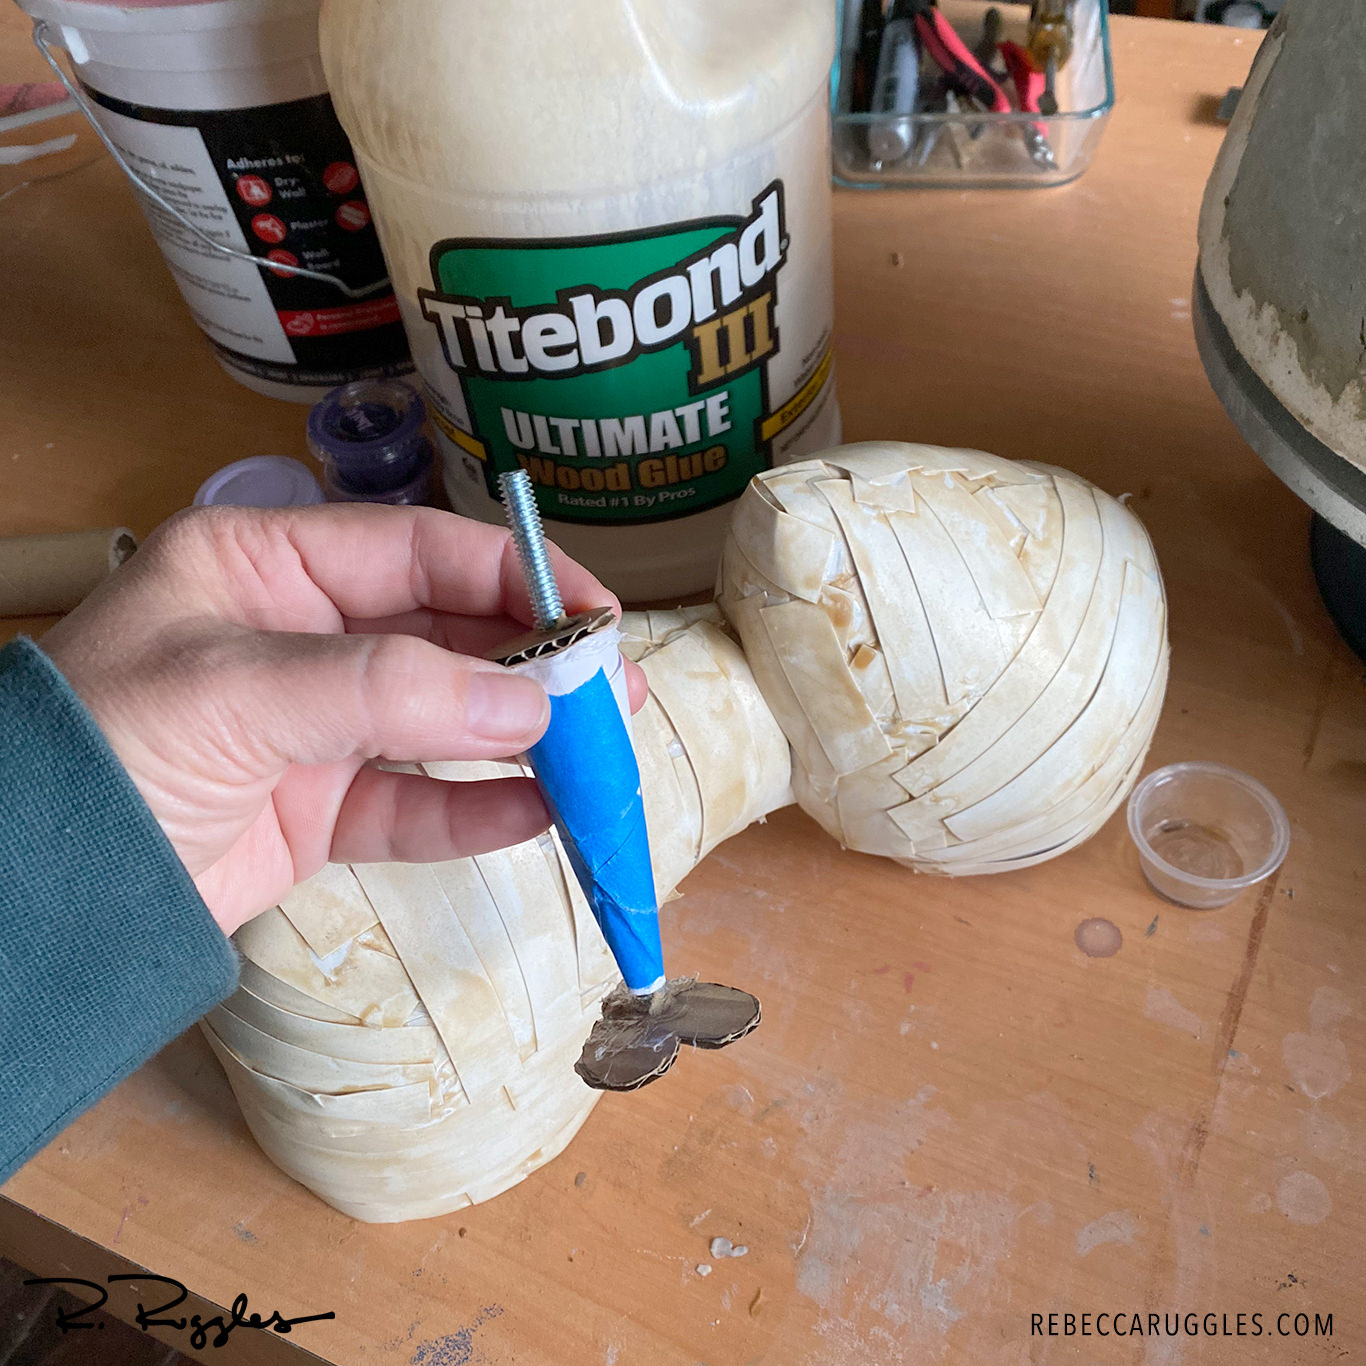
The t-nuts and bolts did a great job of holding the cup and wings to the main body of the bird. Now, I need a way to cover the…
T-nuts are slowly becoming my favorite type of fastener. I already used these on the rear of my sculpture. The t-nuts allow me to create a threaded hole in…
I built a jig to hold my sculpture in every direction to hold my work without having to touch it. I realize I need a way to see the…
Adding the free-form air over the EVA foam wings worked; I had to do this in two steps to avoid handling wet clay. I also attempted to add magnets…
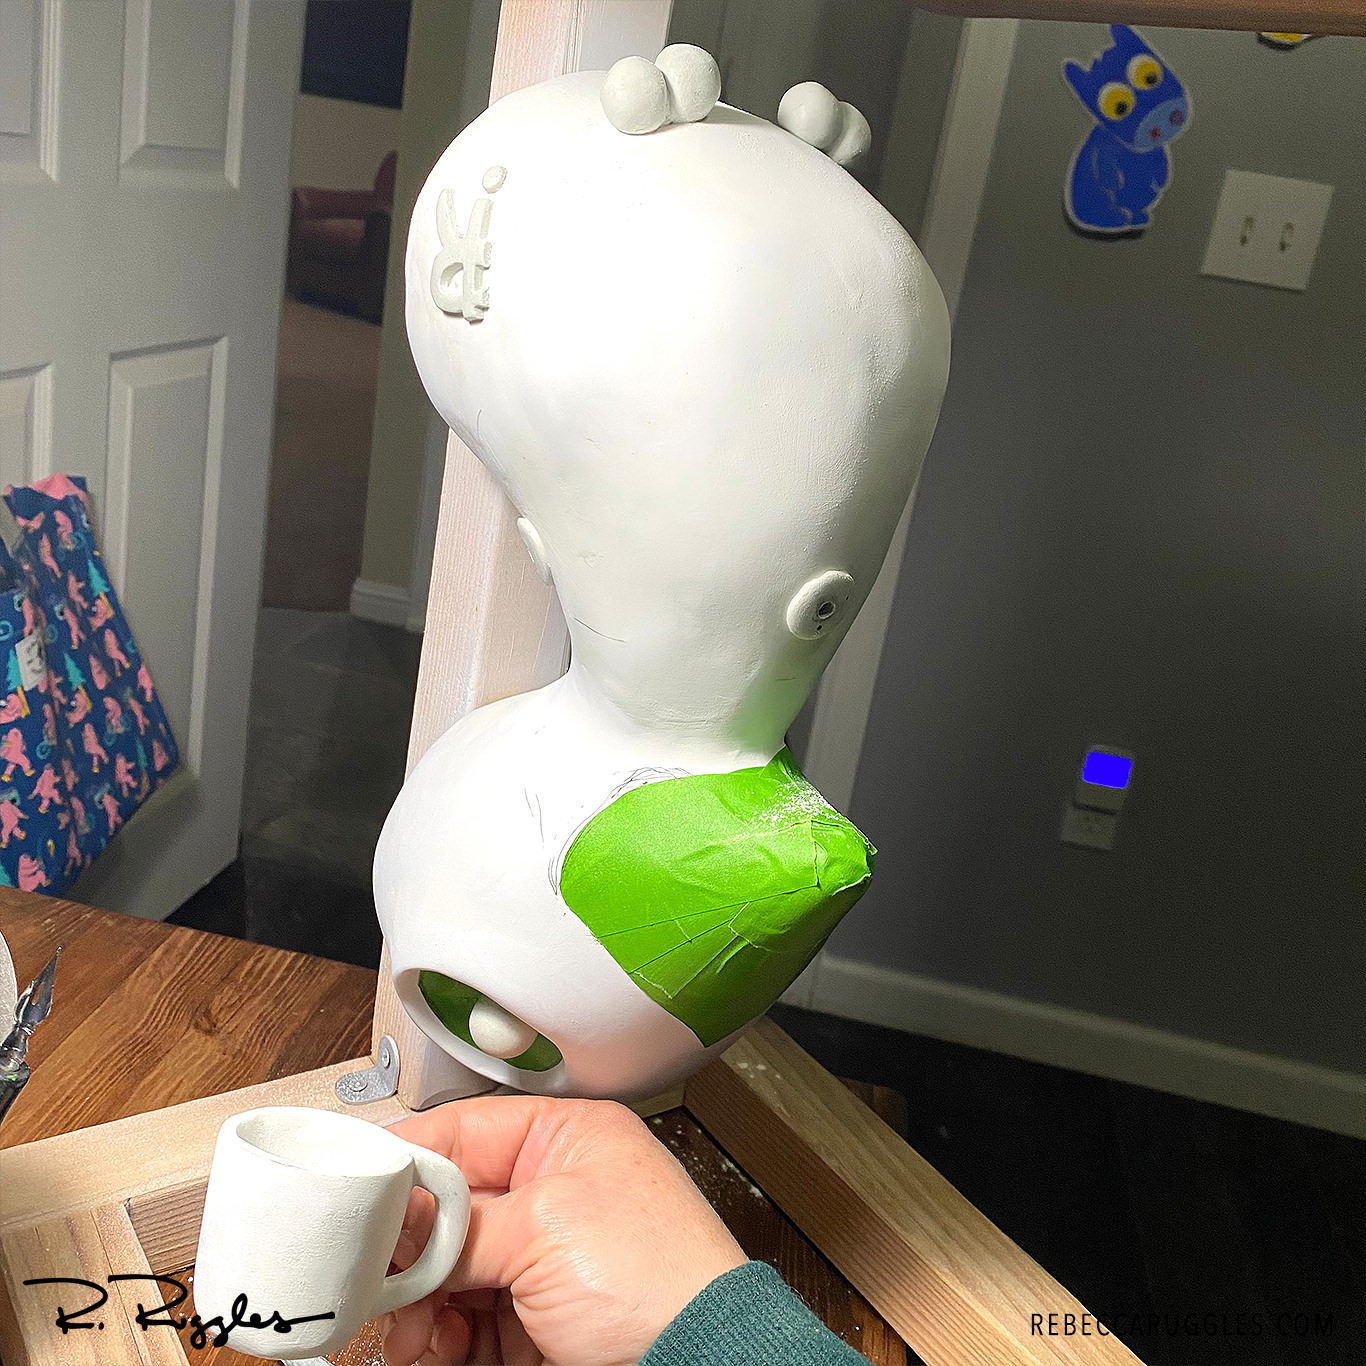
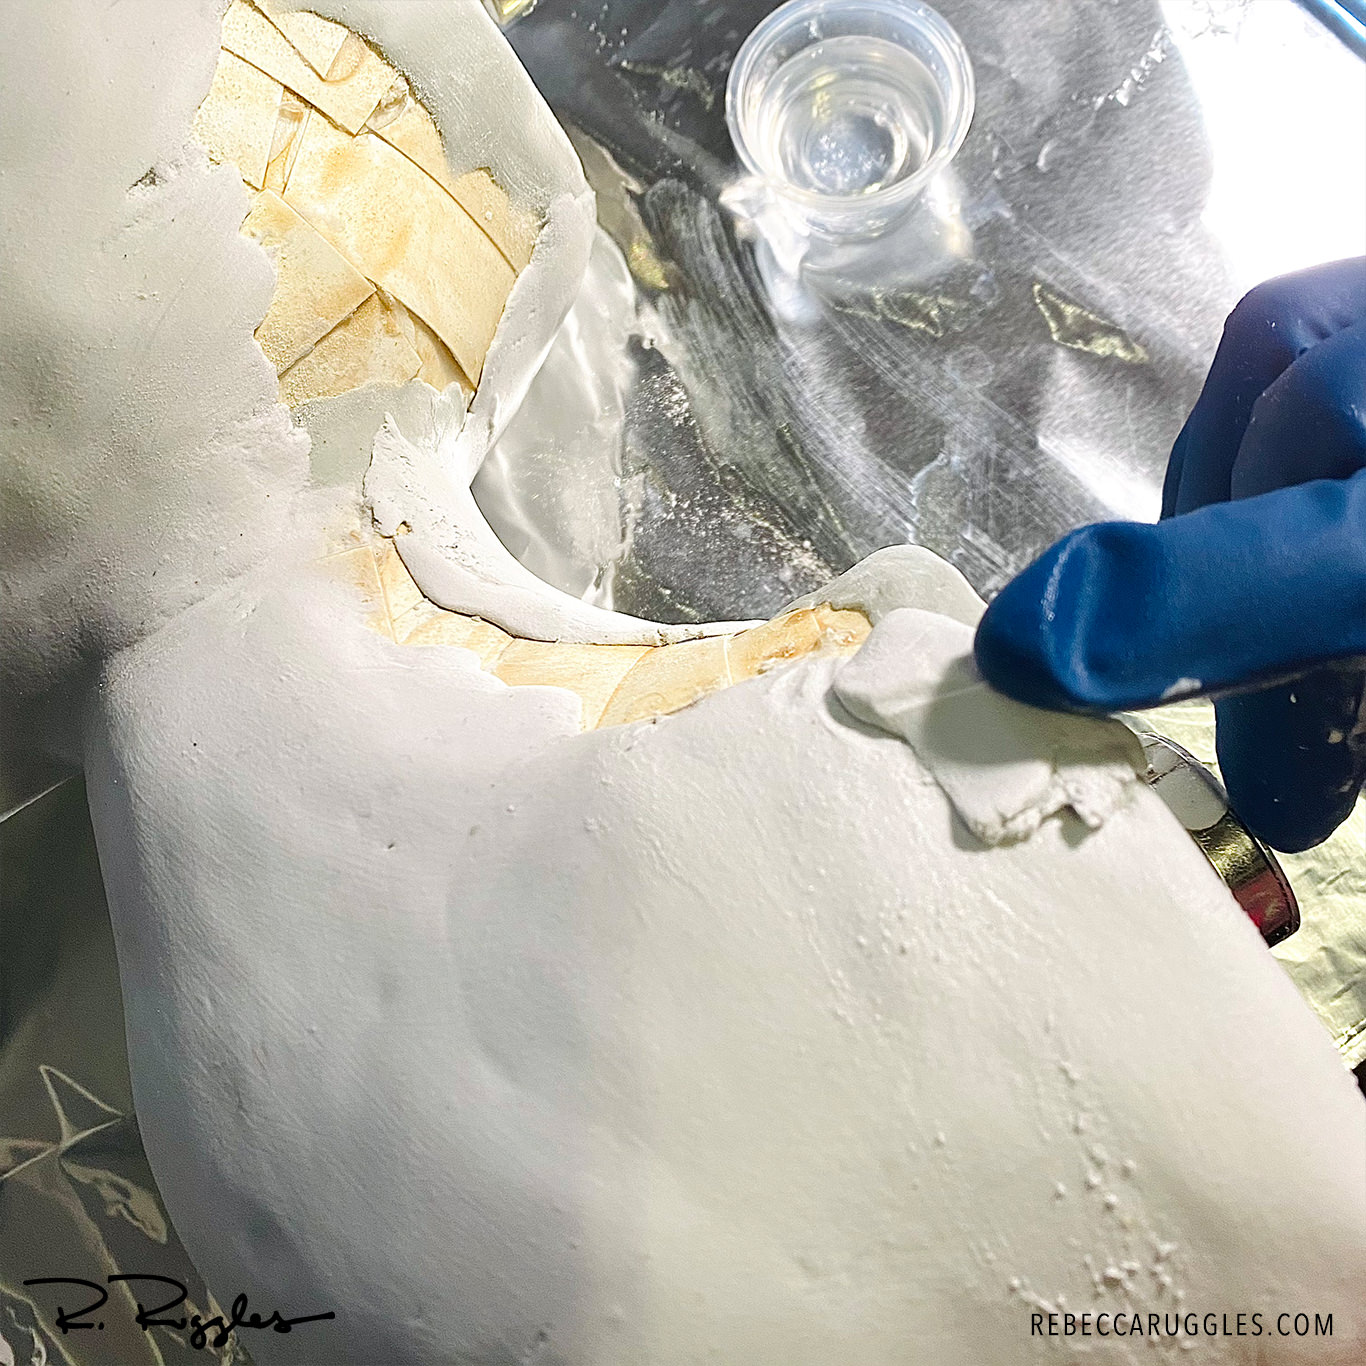
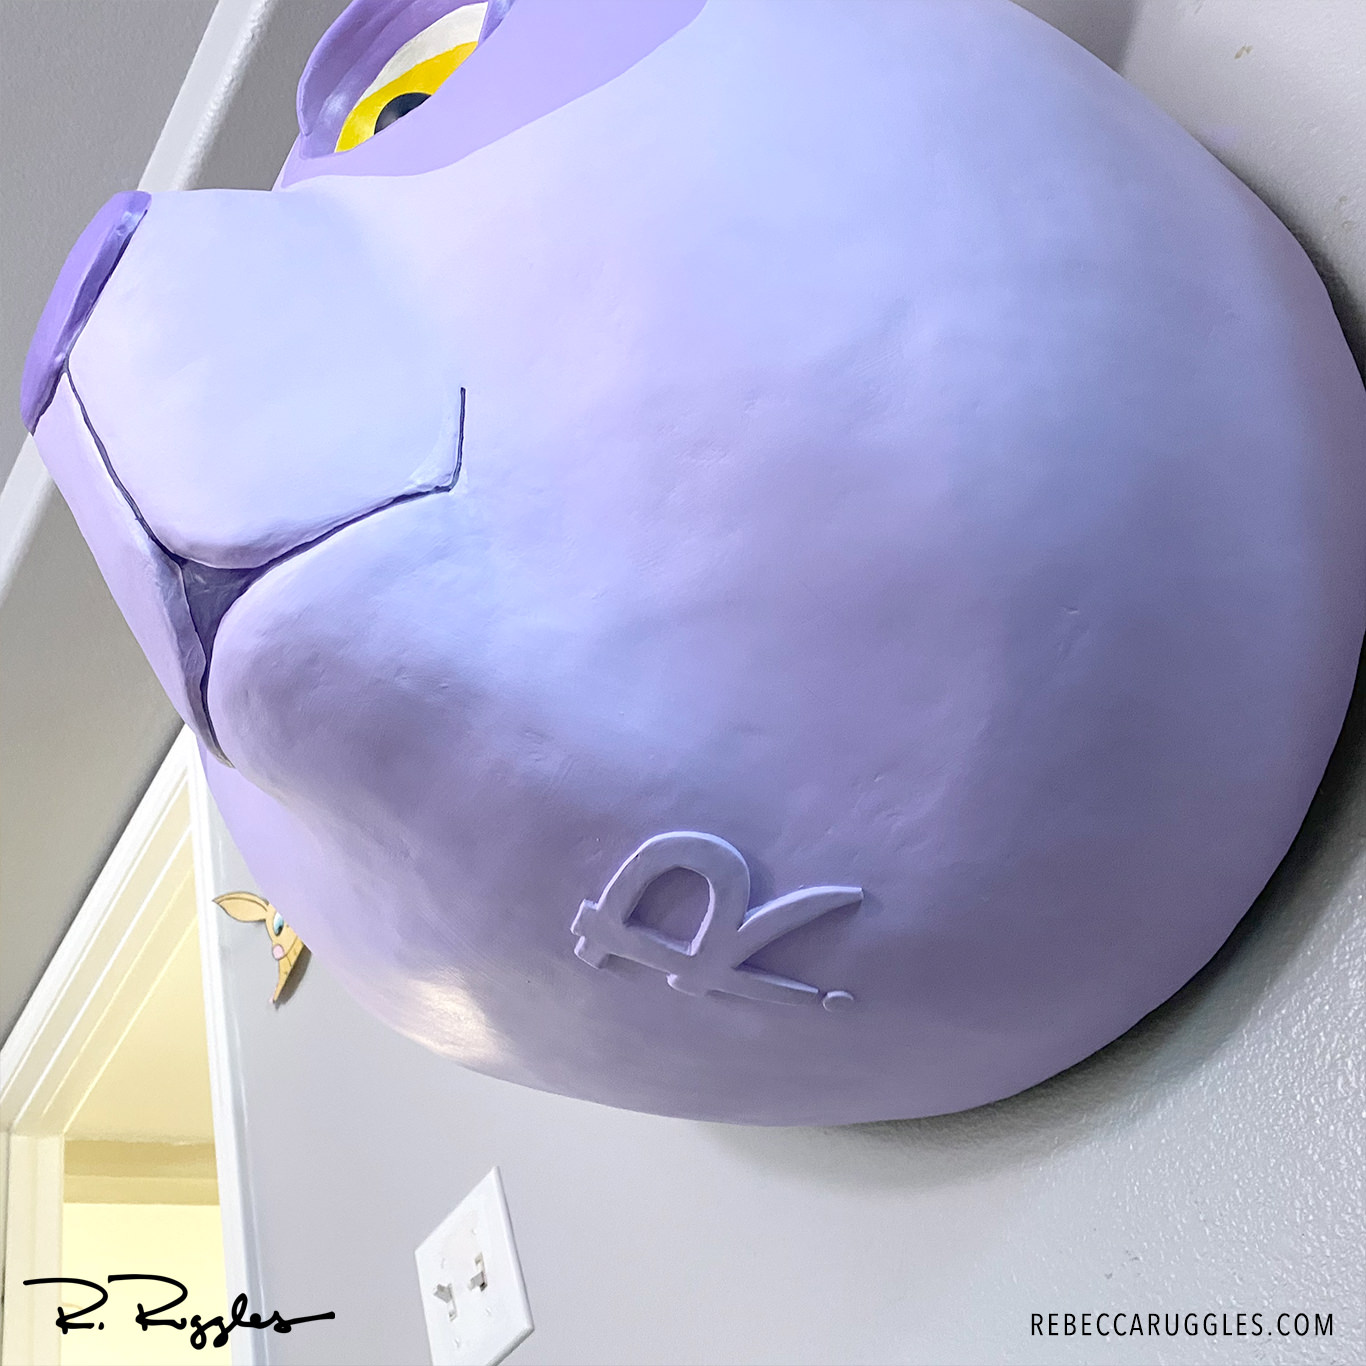
This was the first sculpture in which I used Smooth-on’s Free Form Air Epoxy Clay, and while I found the result to be strong and light, I did struggle…
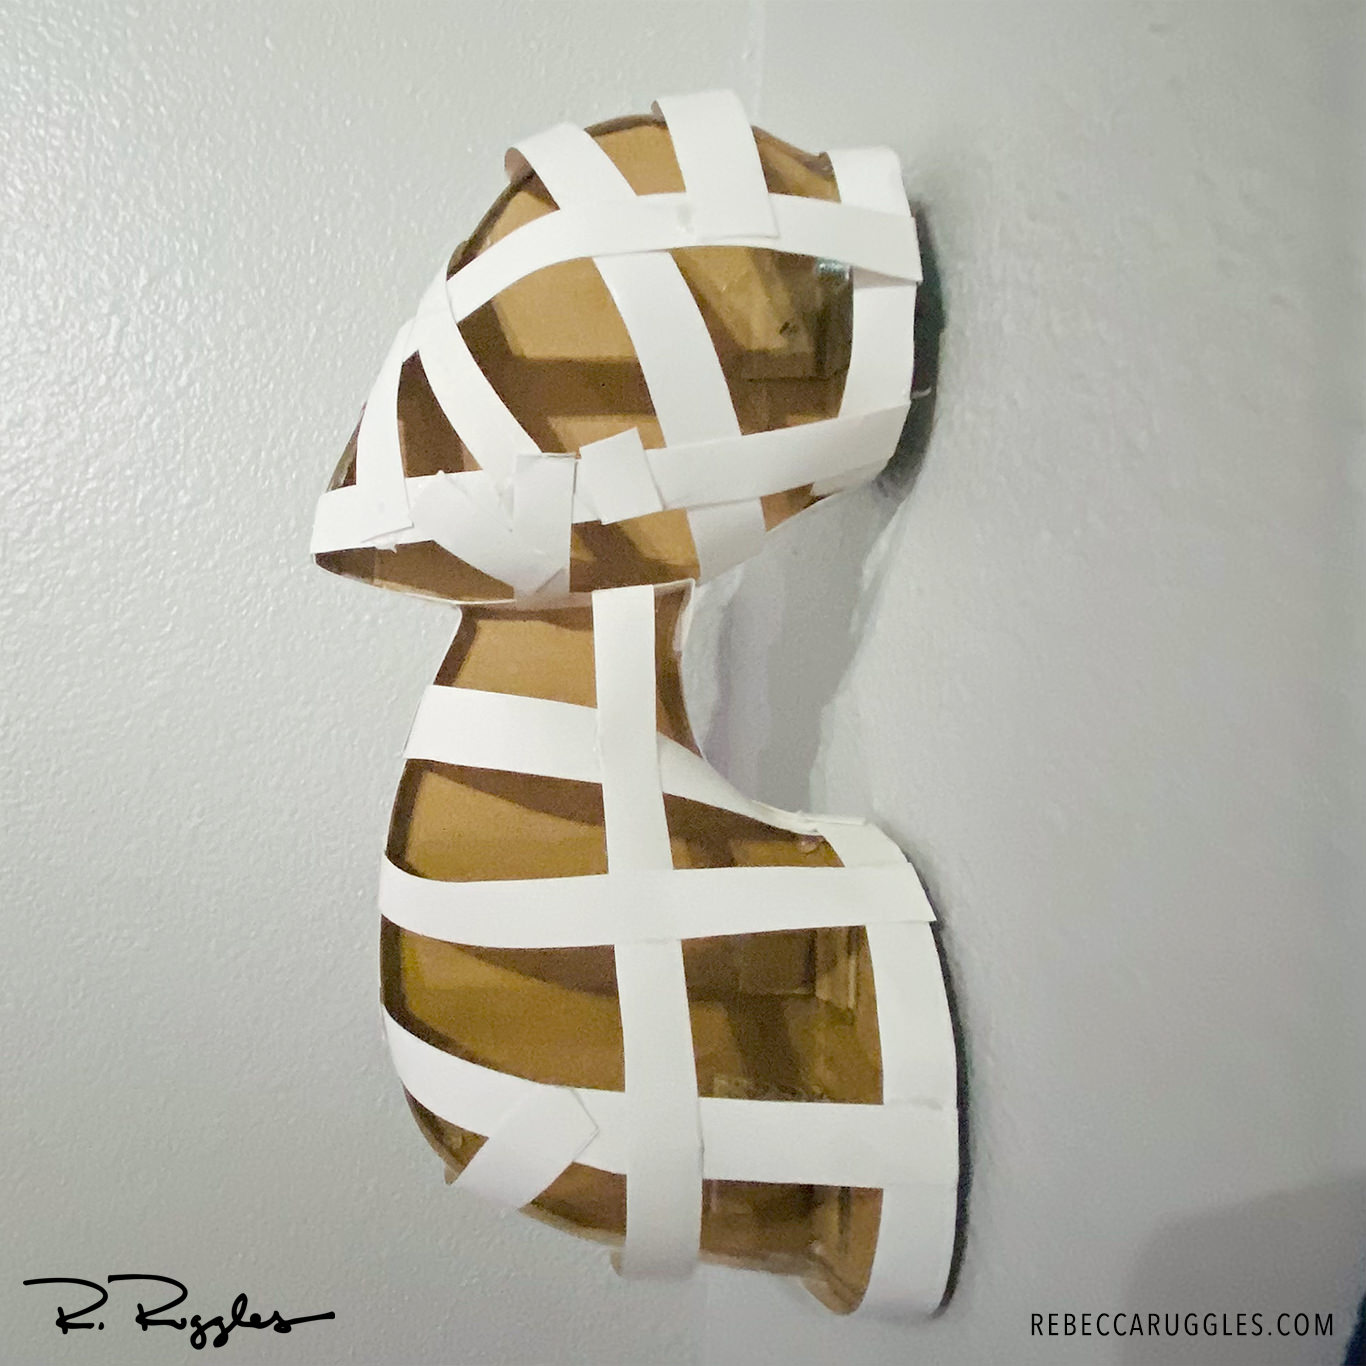
The poster board left the beak area a little square, so I reshaped the point of the beak to a pleasing cone shape with epoxy clay. I also reinforced…
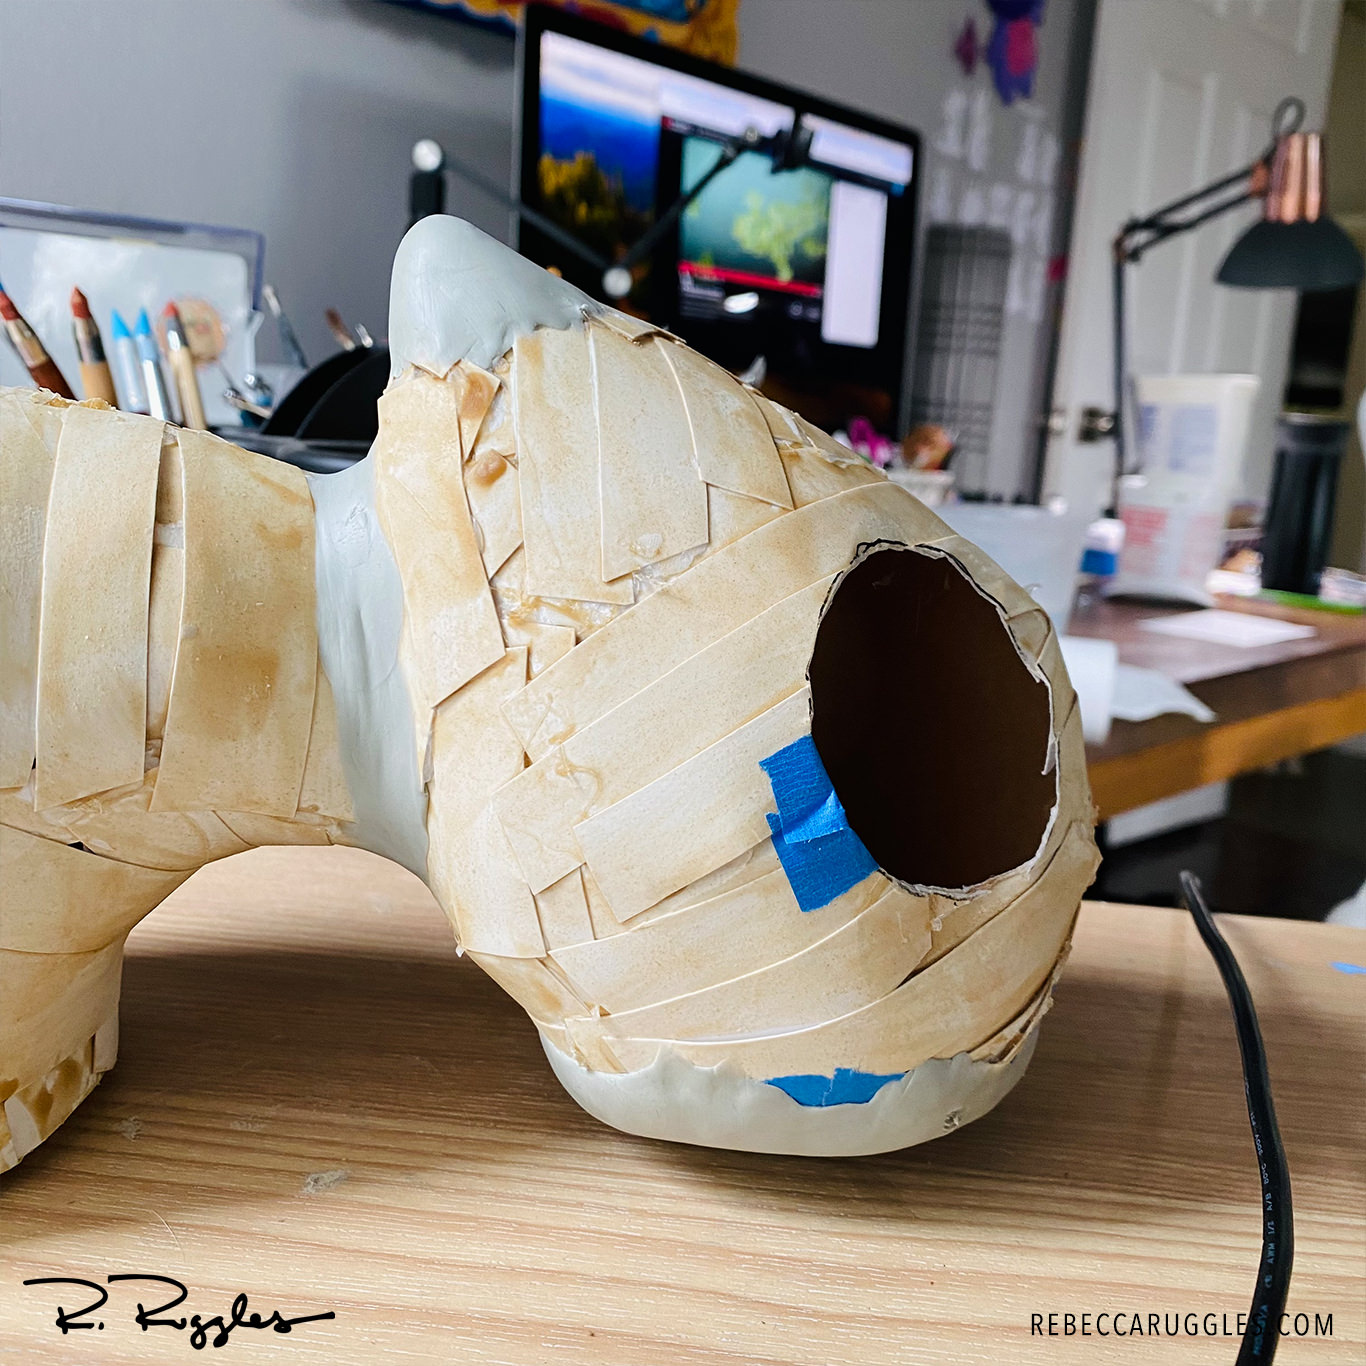
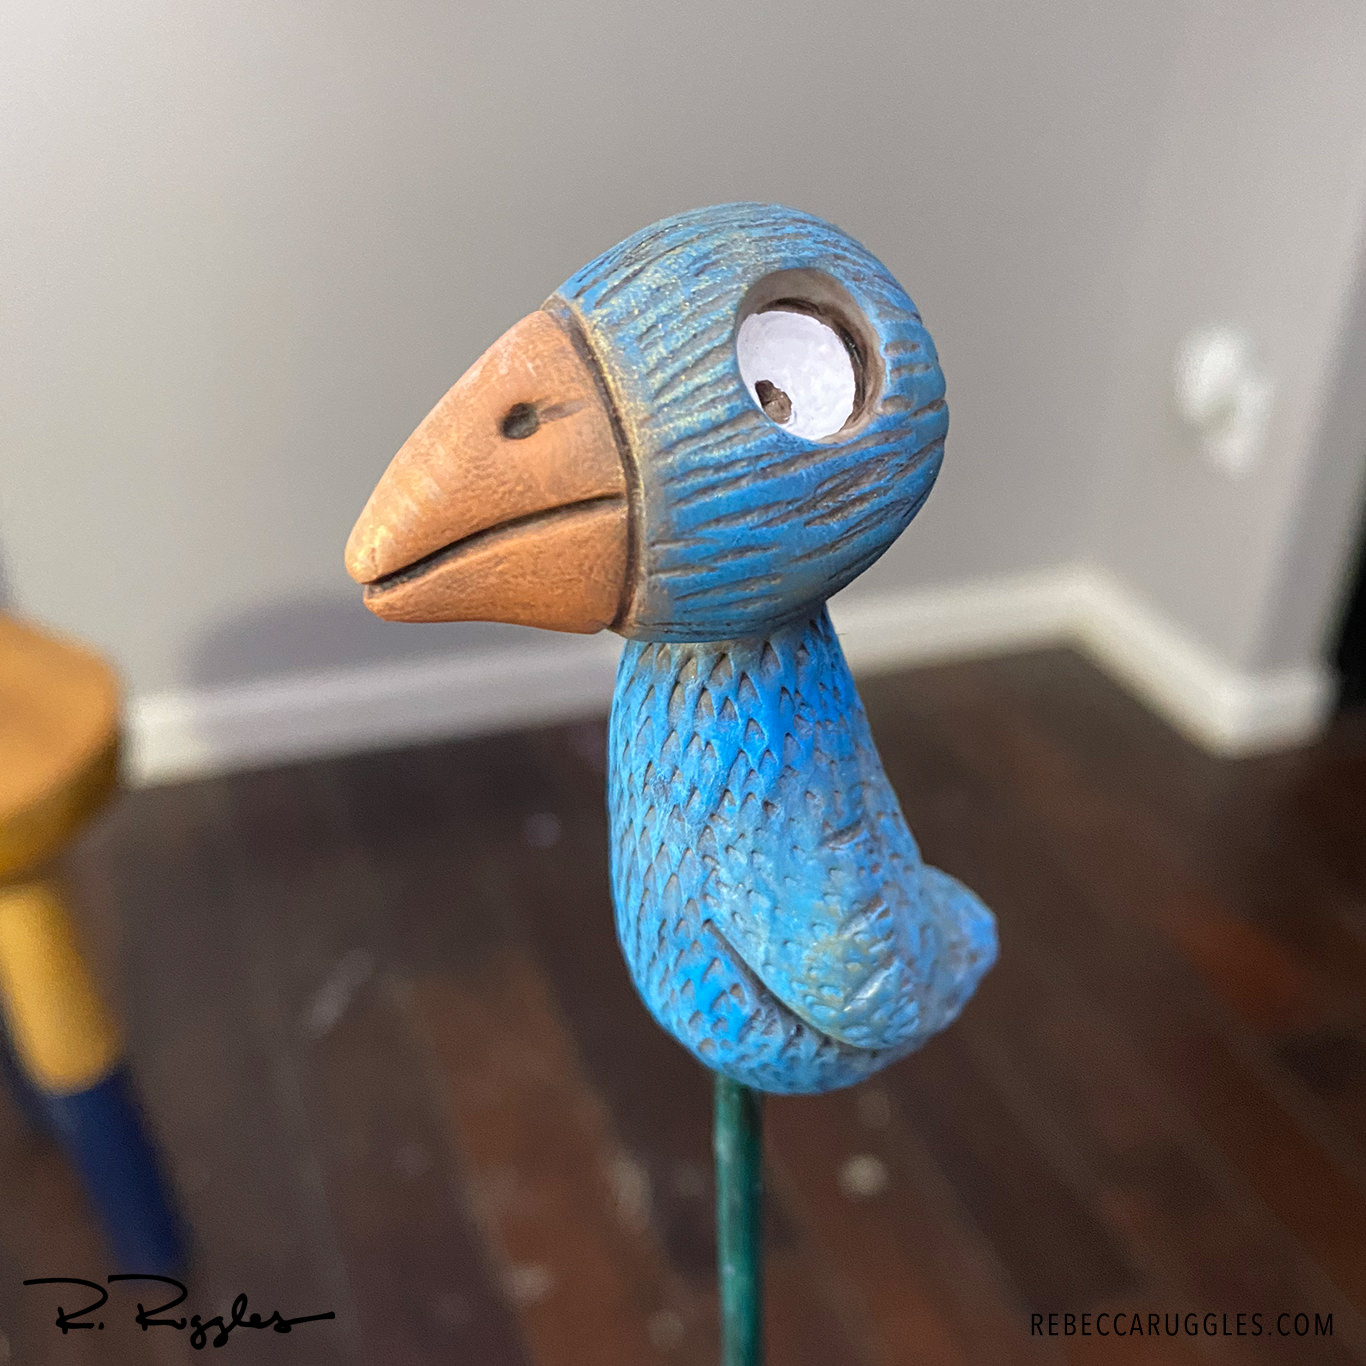
I drew a circle for the eyes on paper, then transferred the shape to the armature and cut the eye holes with a knife. This made it easy to…
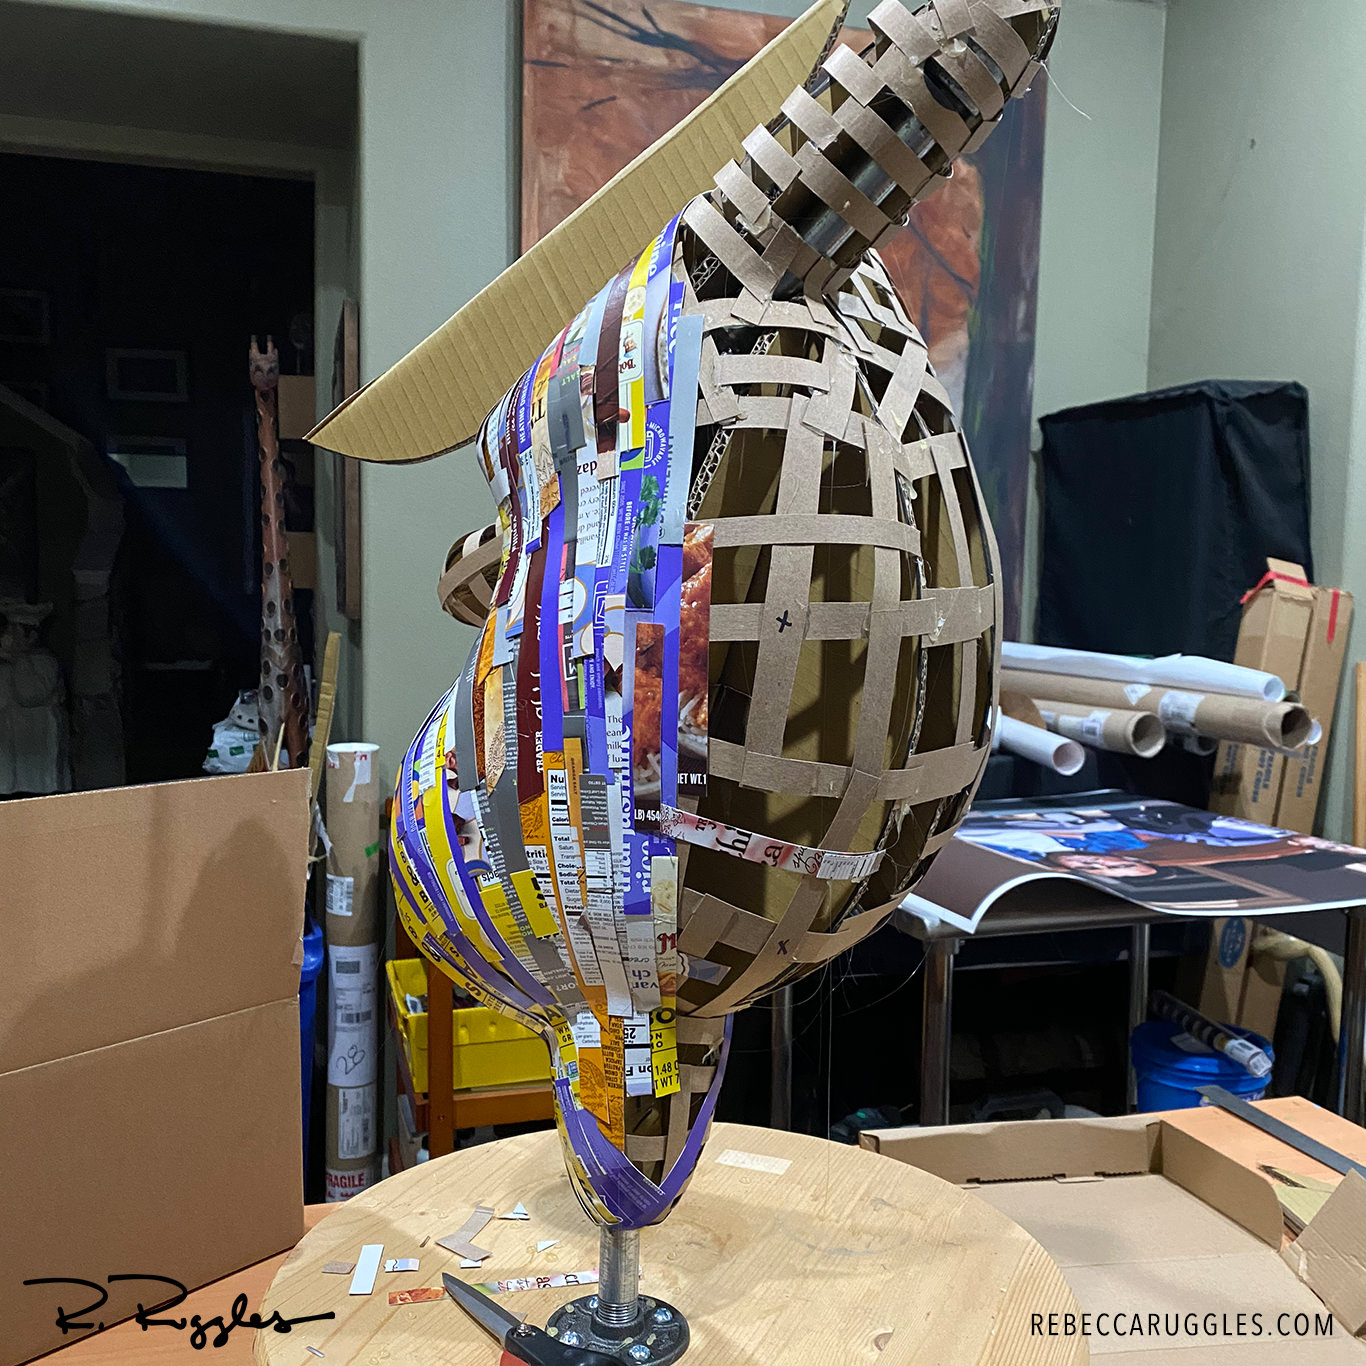
I brushed a layer of Tightbond III over the entire posterboard skin to give it strength and seal the paper from the clay’s moisture. I also built a leg…
I am building an armature for a new wall-hanging sculpture called Early Bird. Starting with a cardboard profile hot glued to two circles that will support the wall-hanging hardware.…